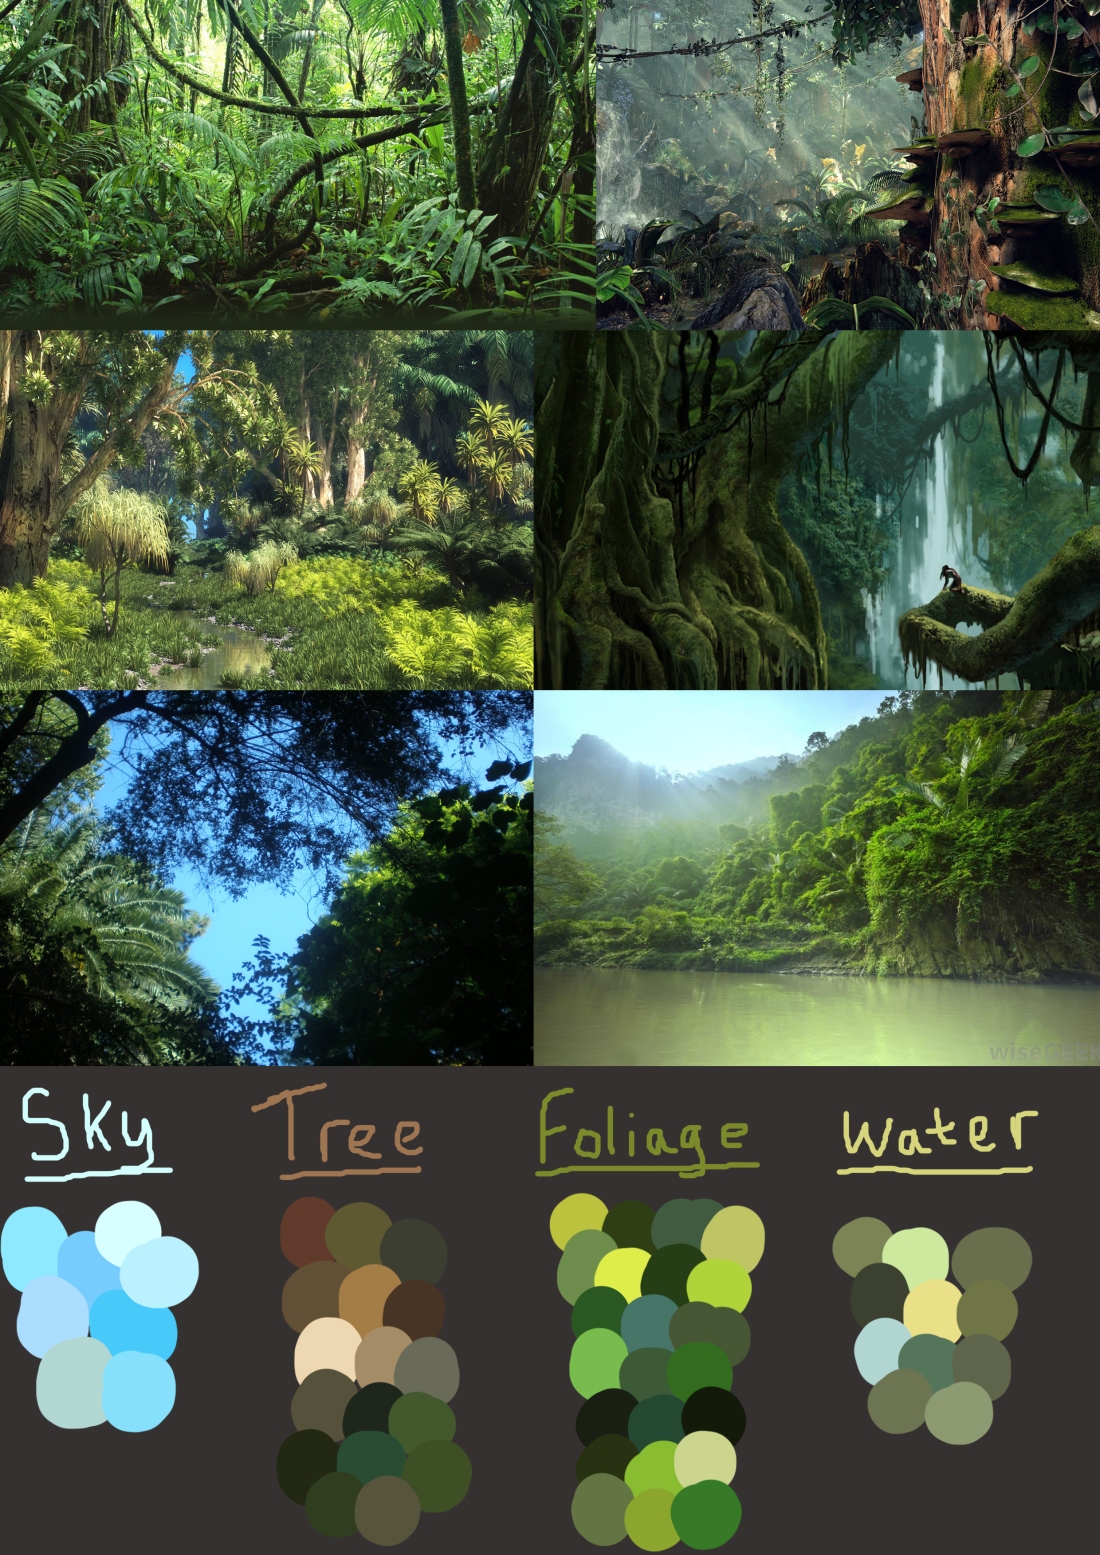
In class this week we were asked to create a tileable texture for maybe like a game or scene. We had to choose what kind of texture we wanted to make and what kind of area it may be used in. i chose to do a rain forest texture. here is my mood board below where i was able create a colour pallet from.
Here is the first texture i created from this i wanted to make it green because of the large amount used in a rain forrest scene.
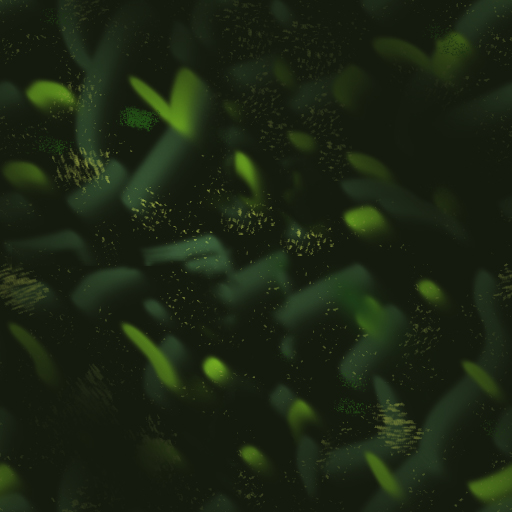
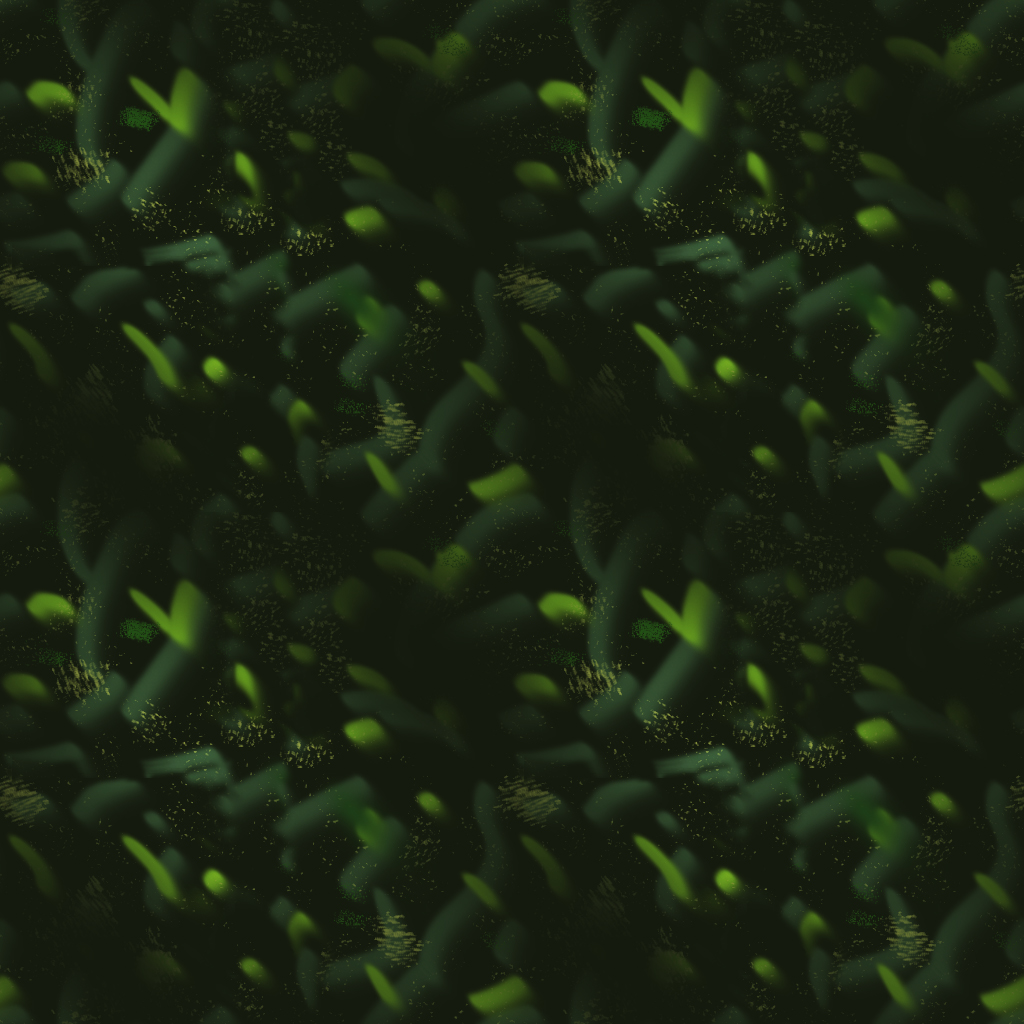
These next 4 images are of the same above but have been manipulated in different ways to add realism and depth to the texture. i used the burn tool and paint brush to do this


Here is what the texture looks like once it has been fixed with the stamp tool and made into a tileable texture.
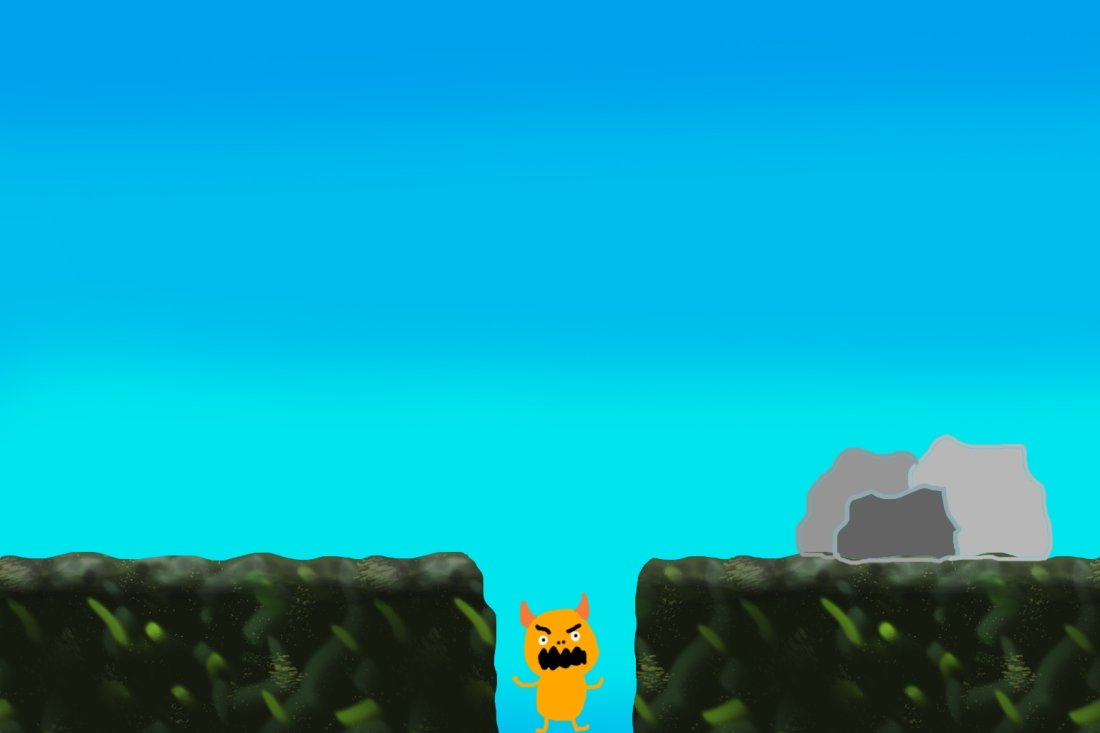
Finally here is a quick mock up of a possible game level. this whole thing is made from different tiles one with just the original texture which has been manipulated to have a bumpy top so it is like terrain for a character to walk on. The other parts i added a monster and a rock to make it more like a game level and add some uniqueness.
i found this weeks lesson to be really helpful and it really furthered my understanding of tileable texturing and how games use this technique a lot to there advantage.