End of term 2 feedback 

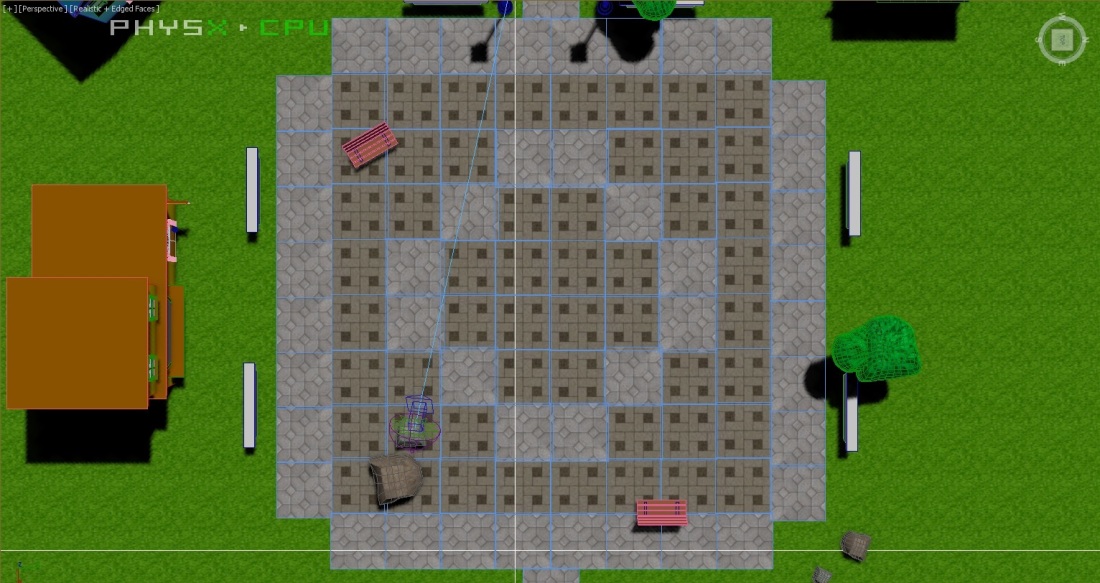
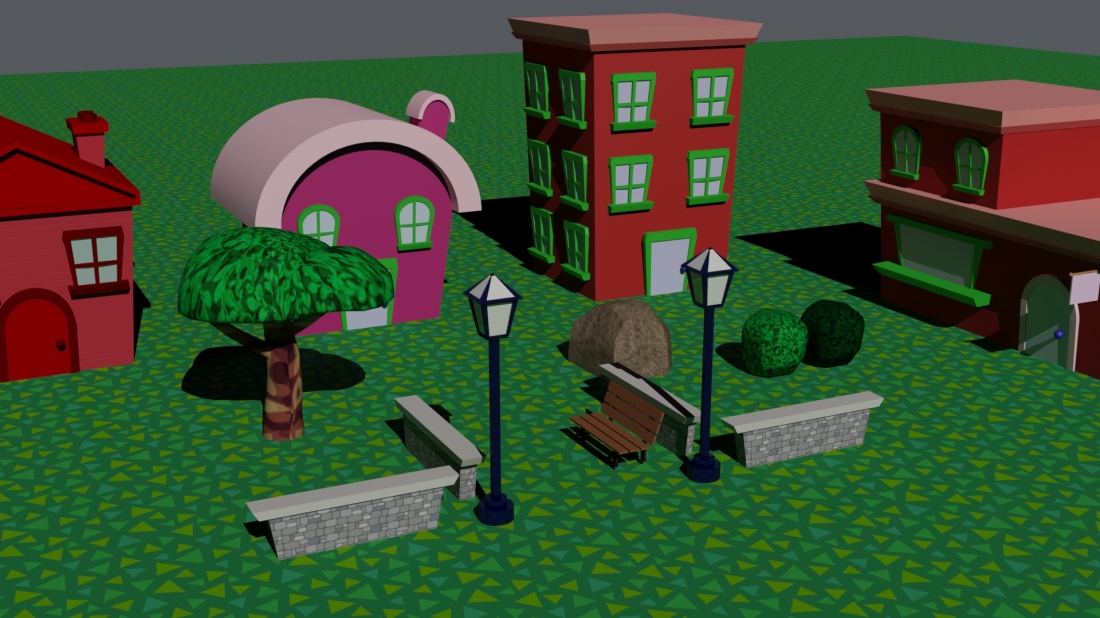
VISUAL LITERACY- mainly positive feedback liked the use of graphic interfaces and lots of bright colours used to create an attractive gaming world. Main thing that was said was the fact it was still hard to grasp what was going on in the game but I feel like it’s easy to understand with the speech bubbles as it is ment to be a village or town simulator similar to animal crossing. Overall I fairly enjoyed this subject this year as I have a passion for 3D work, although I need to improve a lot I still do find it very intersting and enjoyable 🙂

DYNAMIC COMMUNICATIONS-  visuals used were very nice lots of bright colours and the drawings were nice against the painted background although it was simple it worked well to create a children’s theme which is what I was aiming for. The main criticism is that the interactivness is quite simple and it didn’t add much to the story but I feel like it did becuase it was like a map alothough I would have liked to have done a lot more I found using flash incredible difficult. Overall this subject this year was a learning experience I am very happy with what I made in the end but I feel like I won’t be returning to flash anytime soon. 

FINAL VIDEO

Here is my final video for the Playable game environment.

I’m pretty pleased with how it turned out, I was hoping to render it in HD but the render process was taking far too long so this is the best quality I could achieve with out the rendering time taking more than 4 days.

Creating assets for the game

for the video I have created some wee assets to let the player further understand what the game is about. I have also created the logo for my game which I have called “village life”

the assets are just simple to show what is happening in the game and to show that it is a life simulator similar to animal crossing or the sims.

logogardening20xpmoniesclock

Texturing in Maya

today in class we learned some basic ways to textures mainly looking at lamberts and files here are a few screen shots of what we were doing in class today.

colourballscreenshot


next we looked at the “apply Colour options” and selected different vectars and applied the colour to it.

applycolour

here is what it looks like on different shapes and it creates a gradient look you can play about with the opacity to make the object look like its disappearing

applycolour2

we then went on to creating a quite smiley face in photoshop with a transparent back ground which we applied to a plane in the same way we did a lambert but instead selected the file instead. as you can see it makes the rest of the object transparent but not the smiley face.

facesprite

this technique can be used to create blades of grass which I did quickly below as an example.

grassgrasssprites2grasssprites


overall I thought todays class was very interesting and it really helped me further understand my understanding and the potential of texturing in maya.


3 Different scenes

In total I have created 3 different renders showing different game play of my game.

I have done 1 of just the character walking through the village, another of them watering the garden and the final one which I’m most proud of as it took a lot of work is when your character is buying stuff from the market. here are some screen shots of how these look.

flower0080stall0296walkbench0094

I will put all 3 video clips together to create my final game look 🙂

Some HD Render images

here are some HD render images I did to see how my scene was looking…as you can see I changed the grass texture I feel like the large pattern one was a bit too plain for my scene so I added in a more realistic grass texture to see how that would turn out.

wee renderwee render2

so far I’m pretty happy with how my gaming village is turning out 🙂


Using the tiling technique in my 3D scene

as you can see from this screen shot I have used tiled planes to build up my town square. thought I would upload a screen shot of this as it is a new technique  I have started to use from being taught about creating tiles in photoshop. the textures on the planes however I did not create but found them on a copyright free texture website.

tile screenshottile screenshot-wireframe

these aren’t renders just screenshots from the viewport of the textures with edged faces and one of just the wireframe.

the one problem I had was lining them up. I tried to use the snap feature but had a bit of difficulty with it it looks quite wanky in wireframe mode but it looks quite nice with the textures.

Tiny Test render video

here is a wee test I did to see how my scene looks with a basic CAT rig character I found online I put a walk cycle on him and made him go through my scene. this is a very early version of my scene with not many objects and older textures. the video is also not in hd as I didn’t want to make a proper render for this small test to see how it would look.

here is the youtube link to it 🙂 – https://www.youtube.com/watch?v=rhzRr9ibH9Q

ps. I know there is a strange skinning problem going on with the characters foot hopefully I will get that fixed when it comes to the final render 😛

Creating more objects and texturing

Here is a render of some objects I have created as you can see I have also started to texture my scene I am using a mixture of some simple bitmap textures along with bumpmaps to add some detail and also some of the default arch and design textures from the mental ray textures. I want to keep the textures simple and bright to fit in with the cute chunky game theme.

textures and objects